Simply and securely share your data with your GP, Recovery Team, friends or family.
N. B. Ask your employer or health service about gaining access to this feature.

You’re in control of your data, you decide when your data is shared and who you want to give it to.
Let your Recovery Team Help
After tracking your Long Covid Symptoms, you can show the progress to your doctor.

Let them have this information ready in advance for your next appointment.
Let the raw information and the data visualisation do the talking for you.
The data is at their fingertips and will be up to date for as long as you let them have access.
Share with confidence
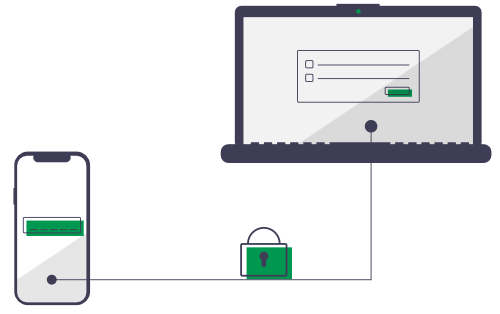
The data can only be accessed by using a security passphrase. These are generated for you in your app.
Manage and control who has access to your data.
Sharing Your Data
Sharing your data goes as follows:
After creating a sharing arrangement you can manage access to your data:
There are two routes to begin sharing your data, either:
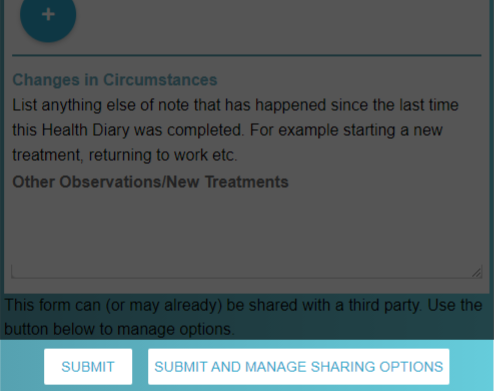
- Start sharing immediately after submitting a new entry. The end of your Long Covid symptoms form will have two buttons, a plain “Submit” button and a “Submit & Manage Sharing Options” button.
- Sharing via the Manage Information Sharing Page, click on the Icon at the top of the page. On that page you will see a button that lets you create a new Sharing Arrangement.
Step 1: Set a Recipient Name
For your future reference, briefly state who the information is being shared with (the third party recipient).
Examples: Mary Jane (friend); John Evans (neighbour); Dr Williams (GP).
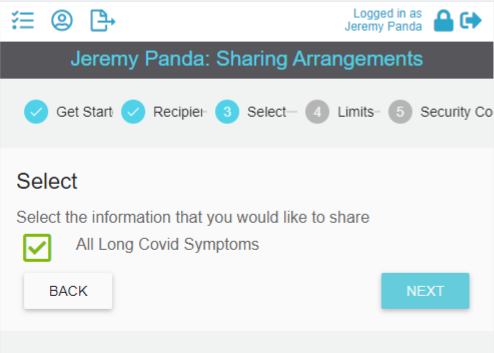
Step 2: Select the Shared Data
Select the information that you would like to share, for LongCovidTracker, there is only one option.
Step 3: Control the access limits
You can choose how long you want your recipient to have access to your symptoms record and / or how many times you want them to be able to download it.
They will be unable to access the data after one of these limits has been reached, whichever comes first. You can always change the limits in the future.
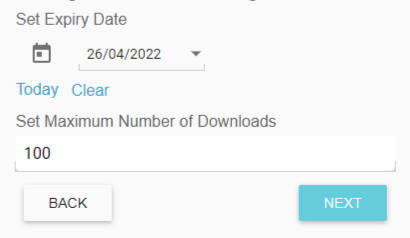
If you’re not sure what your limits will need to be, consider using the default values supplied to get started. You can always come back and extend these access limits at any time.
These limits are for your privacy and you need to consider how much you trust your recipient to see your health data.
Step 4: Security Codes & ID Verification
Step 4a: System ID
Make a note of your System ID (SID) shown on screen.
Step 4b: Security Codes
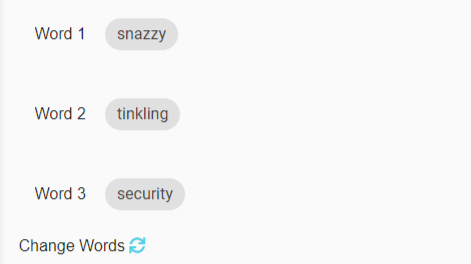
The app will generate three random security words.
If you don’t like one or more of the words for any reason, just click on Change Words to generate a new set of words.
Make a note of these three words, the capitalisation doesn’t matter but you will need to give these words to the recipient in the correct order.
Note: The app will not show you these words again.
If you or the recipient loses them, you will need to generate a new set of words. The recipient will need to use these words each time they access your file.
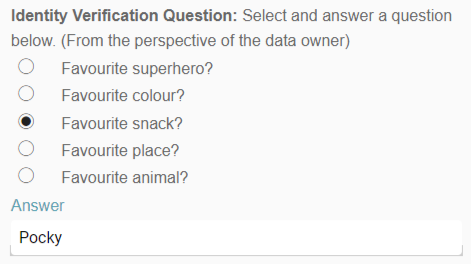
Step 4c: Simple ID Verification
To give your GP comfort that they are seeing your record, answer one of these simple verification questions.
Tell this to the recipient when you give them the passphrase above.
Make a note of this question and answer pair with yor passphrase and click Next.
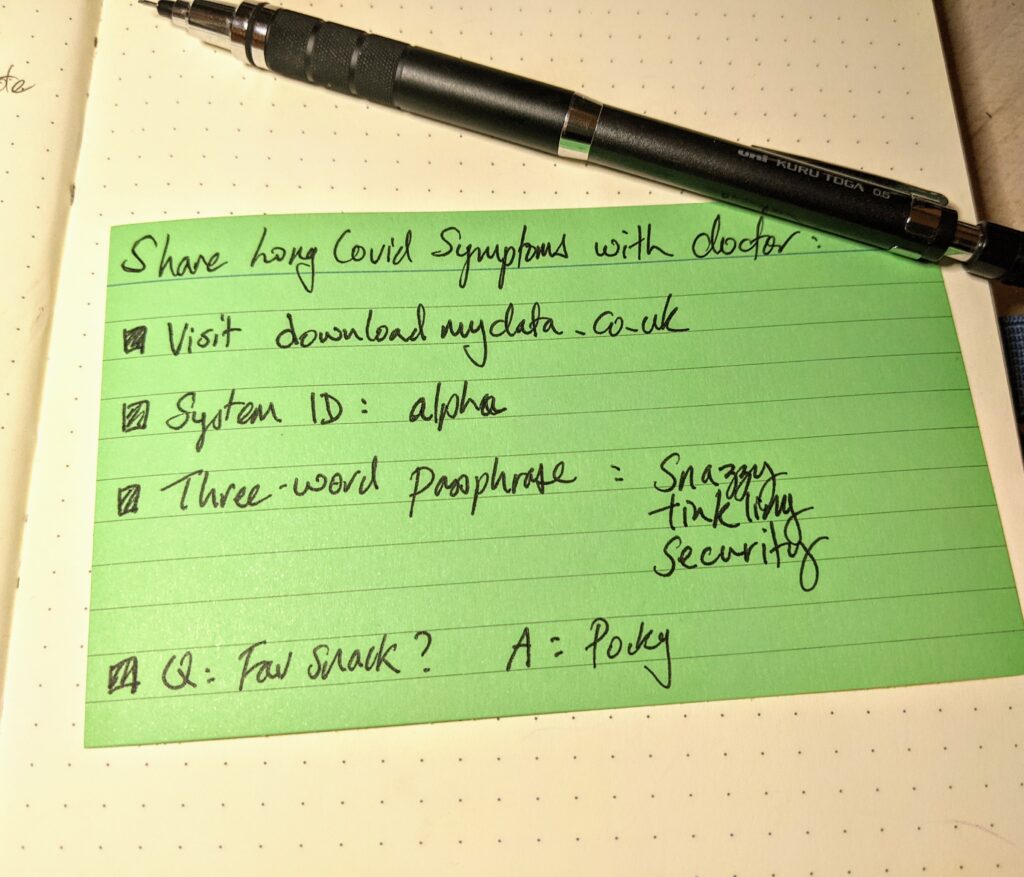
Step 5: Pass these access details to the recipient
Give the recipient the following details:
- To access the data, they need to visit our website www.DownloadMyData.co.uk
- The System ID
- The three word passphrase
- The verification question and answer pair
Manage access to your data
Revoke Access
You can cancel any sharing arrangements at any time. This will stop any recipient from downloading any more data.
Simply click the Manage Information Sharing Icon in the header. All of your Sharing Arrangements will be displayed in two lists. The first list contains all of your active Sharing Arrangements, the second list will have the Sharing Arrangements that have expired.
To revoke access, click on the toggle next to the Sharing Arrangement that you want to stop. If you want to share with this recipient again, you will need to start again with a new passphrase.
Extend or create a new passphrase for a Sharing Arrangement
To extend the Sharing Arrangement, go to the Manage Information Sharing page, and click anywhere on the Sharing Arrangement of interest and you will be given the option to regenerate a new passphrase or change the access limits.